Am Beispiel eines Debian bzw. Ubuntu – Servers zeigen wir Ihnen, wie Sie ihren SSH-Zugang absichern und mit einem Key sowie einem zweiten Faktor (2FA) zur Anmeldung versehen.
Wechseln Sie dazu in den privilegierten Benutzermodus
sudo -sund installieren das notwendige Modul für 2FA auf Ihren Server:
apt install libpam-google-authenticatorVerlassen Sie nun den sudo- Modus
exitund initiieren das Modul
google-authenticatorGehen Sie den Dialog wie folgt durch:
Do you want authentication tokens to be time-based (y/n) ySichern Sie sich die folgenden Daten sowie den QR-Code
Do you want me to update your "/home/rieger/.google_authenticator" file? (y/n) yDo you want to disallow multiple uses of the same authentication<br>token? This restricts you to one login about every 30s, but it increases<br>your chances to notice or even prevent man-in-the-middle attacks (y/n) yBy default, a new token is generated every 30 seconds by the mobile app.<br>In order to compensate for possible time-skew between the client and the server,<br>we allow an extra token before and after the current time. This allows for a<br>time skew of up to 30 seconds between authentication server and client. If you<br>experience problems with poor time synchronization, you can increase the window<br>from its default size of 3 permitted codes (one previous code, the current<br>code, the next code) to 17 permitted codes (the 8 previous codes, the current<br>code, and the 8 next codes). This will permit for a time skew of up to 4 minutes<br>between client and server.<br>Do you want to do so? (y/n) nIf the computer that you are logging into isn't hardened against brute-force<br>login attempts, you can enable rate-limiting for the authentication module.<br>By default, this limits attackers to no more than 3 login attempts every 30s.<br>Do you want to enable rate-limiting? (y/n) yNun ist 2FA bereits eingerichtet und wir passen noch SSH, als sudo Benutzer, an
sudo -sÖffnen Sie die Datei
nano /etc/pam.d/sshdund fügen am Ende der Datei, in einer neuen Zeile die folgende Zeile ein:
auth required pam_google_authenticator.so# !Optional mit nullock »» Fußnote beachten ««
# auth required pam_google_authenticator.so nullok 1Kommentieren Sie zudem die nachfolgende Zeile aus:
#@include common-authKopieren Sie nun die ssh-Konfiguration und bearbeiten diese dann
cp /etc/ssh/sshd_config /etc/ssh/sshd_config.baknano /etc/ssh/sshd_configÄndern und ergänzen Sie diese Zeilen
permitrootlogin no
pubkeyauthentication yes
passwordauthentication no
kbdinteractiveauthentication yes
authenticationmethods publickey,keyboard-interactive
und testen/starten den SSH-Dienst neu.
sshd -t && systemctl restart ssh sshdDes Weiteren empfehlen wir den Root-Zugang via SSH zu verhindern und auf bestimmte Benutzer einzuschränken.
...
Port 56789
#    ^ bitte einen verfügbaren Port nutzen 2
...
AllowUsers <benutzername>
...
PermitEmptyPasswords no
PermitRootLogin no
...
Starten Sie den SSH-Dienst ggf. nochmals neu:
sshd -t && systemctl restart ssh sshdDie gesamte sshd_config könnte in Verbindung mit SSH-Key und 2FA so aussehen:
Port 56789
#    ^ bitte anpassen und ggf. die Firewall anpassen
Protocol 2
AcceptEnv LANG LC_*
AllowUsers benutzername1 benutzername2
AllowAgentForwarding yes
AllowTcpForwarding yes
AuthenticationMethods publickey,keyboard-interactive
ChallengeResponseAuthentication yes
KbdInteractiveAuthentication yes
PubkeyAuthentication yes
PasswordAuthentication no
ClientAliveInterval 40
ClientAliveCountMax 360
HostKey /etc/ssh/ssh_host_rsa_key
HostKey /etc/ssh/ssh_host_ecdsa_key
HostKey /etc/ssh/ssh_host_ed25519_key
HostbasedAuthentication no
IgnoreRhosts yes
IgnoreUserKnownHosts yes
LogLevel INFO
LoginGraceTime 30s
MaxAuthTries 3
MaxSessions 3
PermitEmptyPasswords no
PermitRootLogin no
PrintMotd no
PrintLastLog no
Subsystem sftp /usr/lib/openssh/sftp-server
SyslogFacility AUTH
StrictModes yes
TCPKeepAlive yes
UseDNS yes
UsePAM yes
X11Forwarding no
X11DisplayOffset 10
X11UseLocalhost no
Wir deaktivieren zudem den Root-Account, indem wir als „normaler“ Benutzer diesen befehl absetzen
exit
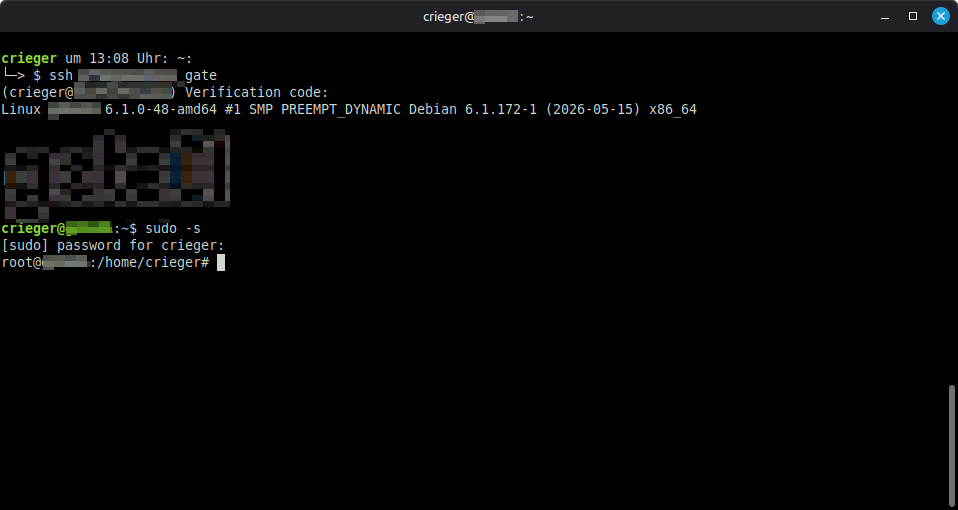
sudo passwd -dl rootDie Anmeldung per SSH (Private Key + 2FA) sowie der wechsel in den sudo-Modus stellt sich ab sofort wie folgt dar:
Die Absicherung Ihres SSH-Zugangs wurde erfolgreich abgeschlossen und so wünsche ich Ihnen viel Spaß!
Fußnote: