Anhand dieser Roundcube Installationsanleitung (Roundcube 1.6x) können Sie diese Software ganz einfach separat oder neben Ihrer Cloud installieren und mit einem zweiten Faktor (2FA), der bspw. bereits Ihre bestehende Cloud absichert, schützen. Zudem werden fehlerhafte Loginversuche überwacht und ggf. die zugrundeliegendende IPs mittels fail2ban geblockt. Weiterhin fügen wir ein carddav-Plugin hinzu, um die Kontakte ihrer Cloud integrieren und nutzen zu können! Folgen Sie dieser Anleitung und passen dabei bitte einfach die roten Werte entsprechend Ihrer Umgebung an. Möchten Sie Roundcube separat betreiben, so stellen wir am Ende des Artikels eine eigene vHost-Datei zur Verfügung.
Installieren Sie ein php-Modul und sichern die bestehende Nextcloud/ownCloud-vHost-Datei:
sudo -s
apt install php-pear unzip -y && service php8.0-fpm restart
cp /etc/nginx/conf.d/<next/own>cloud.conf /etc/nginx/conf.d/<next/own>cloud.conf.bak
Passen Sie dann die vHost-Datei /etc/nginx/conf.d/<next/own>cloud.conf an, ergänzen Sie die roten Zeilen:
...
location /.well-known/acme-challenge { try_files $uri $uri/ =404; }
location /.well-known/pki-validation { try_files $uri $uri/ =404; }
return 301 /index.php$request_uri;
}
location ^~ /emails/ {
client_max_body_size 10240M;
proxy_buffering off;
proxy_connect_timeout 3600;
proxy_max_temp_file_size 10240M;
proxy_pass http://127.0.0.1:83;
proxy_redirect off;
proxy_request_buffering off;
proxy_read_timeout 3600;
proxy_send_timeout 3600;
proxy_set_header Host $host;
proxy_set_header X-Real-IP $remote_addr;
proxy_set_header X-Forwarded-Proto $scheme;
proxy_set_header X-Forwarded-For $proxy_add_x_forwarded_for;
send_timeout 3600;
}
location ~ ^/(?:build|tests|config|lib|3rdparty|templates|data)(?:$|/)  { return 404; }
...
Erzeugen Sie die die proxy.conf-Datei und eine neue vHost-Datei für Roundcube:
nano /etc/nginx/proxy.conf
Kopieren Sie alle Zeilen hinein:
proxy_set_header Host $host;
proxy_set_header X-Real-IP $remote_addr;
proxy_set_header X-Forwarded-Host $host;
proxy_set_header X-Forwarded-Protocol $scheme;
proxy_set_header X-Forwarded-For $remote_addr;
proxy_set_header X-Forwarded-Port $server_port;
proxy_set_header X-Forwarded-Server $host;
proxy_connect_timeout 3600;
proxy_send_timeout 3600;
proxy_read_timeout 3600;
proxy_redirect off;
Speichern und schließen Sie diese Datei und erzeugen dann die roundcube.conf-Datei.
nano /etc/nginx/conf.d/roundcube.conf:
Kopieren Sie alle nachfolgenden Zeilen hinein:
server {
server_name 127.0.0.1;
listen 127.0.0.1:83;
include /etc/nginx/proxy.conf;
root /var/www/;
access_log /var/log/nginx/roundcube.access.log;
error_log /var/log/nginx/roundcube.error.log warn;
charset utf-8;
client_max_body_size 10G;
fastcgi_buffers 64 4K;
gzip on;
gzip_vary on;
gzip_comp_level 4;
gzip_min_length 256;
gzip_proxied expired no-cache no-store private no_last_modified no_etag auth;
gzip_types application/atom+xml application/javascript application/json application/ld+json application/manifest+json application/rss+xml application/vnd.geo+json application/vnd.ms-fontobject application/x-font-ttf application/x-web-app-manifest+json application/xhtml+xml application/xml font/opentype image/bmp image/svg+xml image/x-icon text/cache-manifest text/css text/plain text/vcard text/vnd.rim.location.xloc text/vtt text/x-component text/x-cross-domain-policy;
add_header Permissions-Policy "interest-cohort=()";
add_header Referrer-Policy "no-referrer" always;
add_header X-Content-Type-Options "nosniff" always;
add_header X-Download-Options "noopen" always;
add_header X-Frame-Options "SAMEORIGIN" always;
add_header X-Permitted-Cross-Domain-Policies "none" always;
add_header X-Robots-Tag "none" always;
add_header X-XSS-Protection "1; mode=block" always;
fastcgi_hide_header X-Powered-By;
index index.php index.html /index.php$request_uri;
expires 1m;
location = /robots.txt {
allow all;
log_not_found off;
access_log off;
}
location ~ ^/emails/(bin|SQL|config|temp|logs|pgp|README|INSTALL|LICENSE|CHANGELOG|UPGRADING)/ {
deny all;
}
location ~ ^/emails/(?:build|tests|config|lib|3rdparty|templates|data)(?:$|/)  { return 404; }
location ~ ^/emails/(?:\.|autotest|issue|indie|db_|console)  { return 404; }
location ~ \.php(?:$|/) {
fastcgi_split_path_info ^(.+?\.php)(/.*)$;
set $path_info $fastcgi_path_info;
try_files $fastcgi_script_name =404;
include fastcgi_params;
fastcgi_param SCRIPT_FILENAME $document_root$fastcgi_script_name;
fastcgi_param PATH_INFO $path_info;
fastcgi_param HTTPS on;
fastcgi_param modHeadersAvailable true;
fastcgi_param front_controller_active true;
fastcgi_pass php-handler;
fastcgi_intercept_errors on;
fastcgi_request_buffering off;
fastcgi_read_timeout 3600;
fastcgi_send_timeout 3600;
fastcgi_connect_timeout 3600;
}
location ~ /emails/\.(?:css|js|svg|gif|png|jpg|ico)$ {
try_files $uri /index.php$request_uri;
expires 6M;
access_log off;
}
location ~ /emails/\.woff2?$ {
try_files $uri /index.php$request_uri;
expires 7d;
access_log off;
}
location /emails/ {
try_files $uri $uri/ /index.php$request_uri;
}
}
Überprüfen Sie die Webserverkonfiguration durch:
nginx -t
und starten dann den Webserver neu:
service nginx restart
Roundcube Installation
Wechseln Sie in das Arbeitsverzeichnis und laden die Roundcubes-Software herunter, um mit der Installation beginnen zu können (alternativ: Download und Installation Roundcube):
cd /usr/local/src
wget https://github.com/roundcube/roundcubemail/releases/download/1.6.5/roundcubemail-1.6.5-complete.tar.gz
tar xfz roundcubemail-1.6.5-complete.tar.gz &&  mv roundcubemail-1.6.5 emails
mv emails /var/www/ && chown -R www-data:www-data /var/www/
Erzeugen Sie nun die Datenbank, einen neuen Benutzer und vergeben dann sein Passwort.
service mysql restart
mysql -uroot -p
CREATE DATABASE roundcube_db CHARACTER SET utf8mb4 COLLATE utf8mb4_general_ci; CREATE USER roundcube_user@localhost identified by 'roundcube_db_passwort'; GRANT ALL PRIVILEGES on roundcube_db.* to roundcube_user@localhost; FLUSH privileges; quit;
Erläuterung:
Datenbankname: roundcube_db
Datenbankbenutzer: roundcube_user
Datenbankbenutzerpaßwort: roundcube_db_passwort
Rufen Sie Roundcube in Ihrem Browser auf (https://ihredomain.de/emails/installer/) und führen alle Installationsschritte durch. Im Anschluss an die Installation wird das „installer“-Verzeichnis /var/www/emails/installer aus Sicherheitsgründen gelöscht und der Webserver neu gestartet:
rm -Rf /var/www/emails/installer && service nginx restart
Wenn Sie PGP für die Mailverschlüsselung und Mailentschlüsselung nutzen wollen, so sind weitere Schritte notwendig:
sudo -u www-data mkdir -p /var/www/emails/KEYS
sudo -u www-data cp /var/www/emails/plugins/enigma/config.inc.php.dist /var/www/emails/plugins/enigma/config.inc.php
Passen Sie die enigma-Konfiguration an:
sudo -u www-data vi /var/www/emails/plugins/enigma/config.inc.php
Setzen Sie den Wert für das homedir auf KEYS
$config['enigma_pgp_homedir'] = "KEYS";
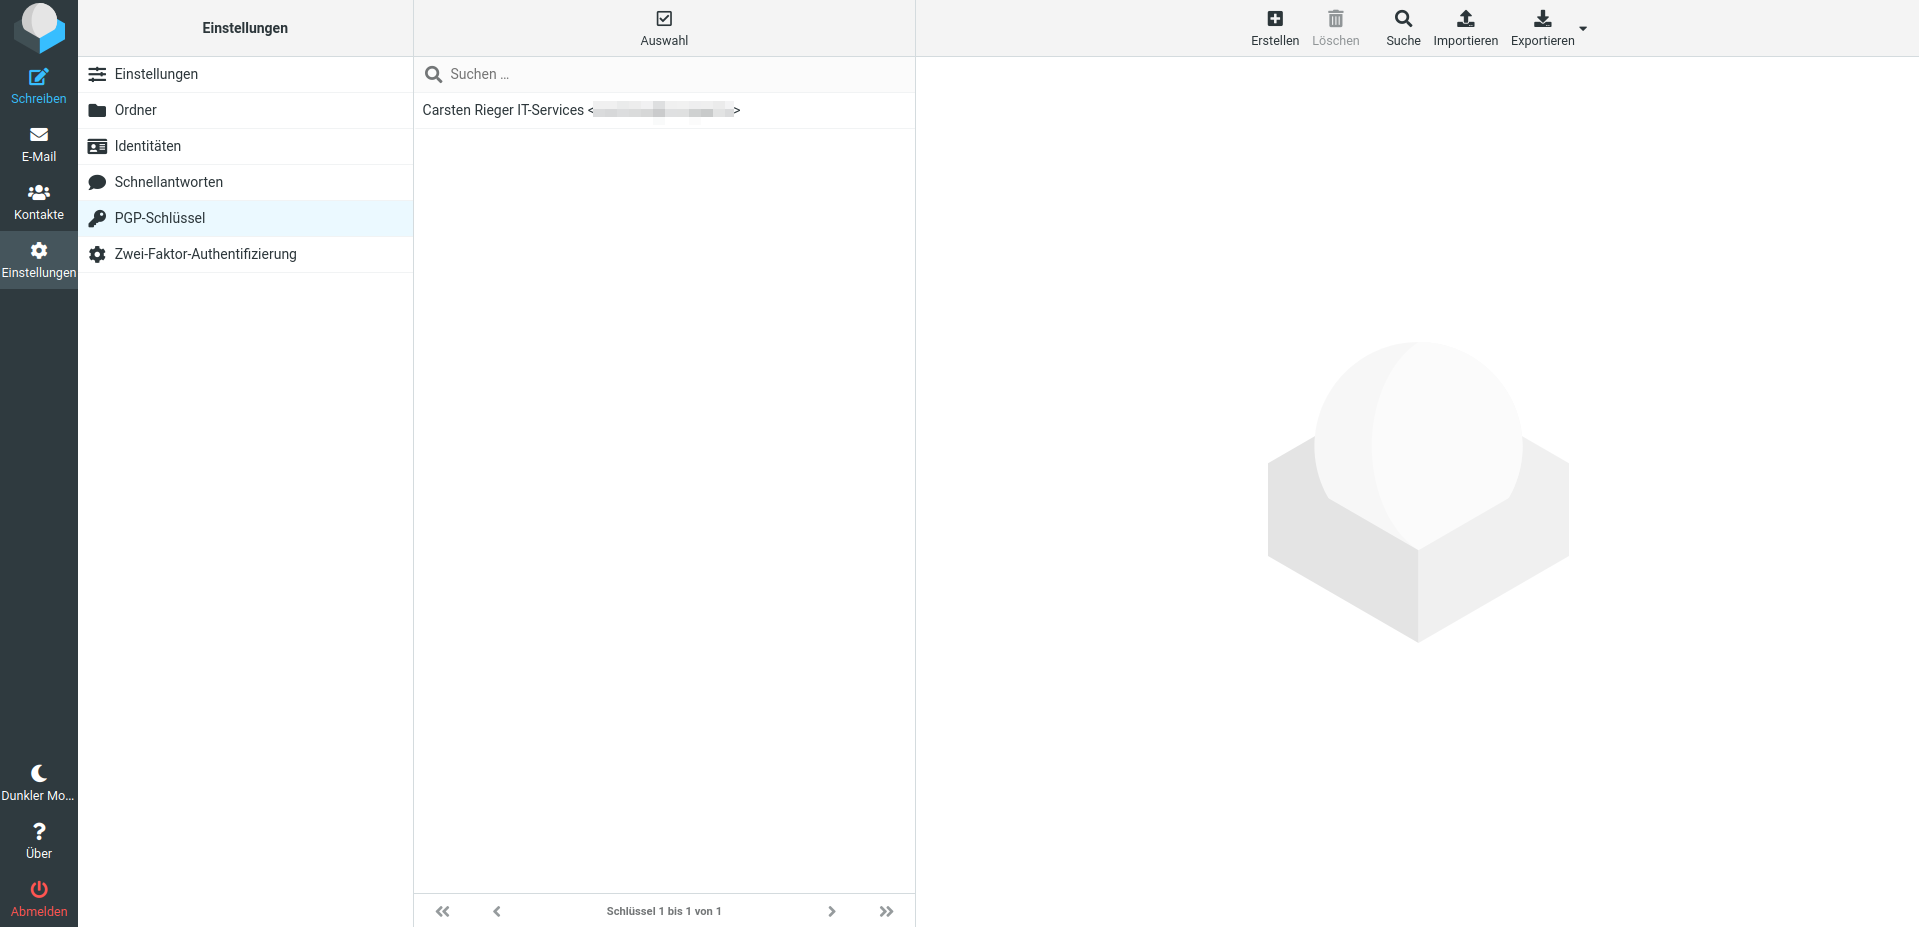
Roundcube ist nun vollständig unter /var/www/emails installiert, so dass wir das System härten können.
cd /var/www/emails/plugins
2FA – Zwei-Faktor-Authentifizierung
Laden Sie die Zwei-Faktor-App (TOTP) von github herunter:
git clone https://github.com/alexandregz/twofactor_gauthenticator.git
Melden Sie sich von Roundcube ab und bearbeiten die Konfiguration um TOTP zu aktivieren:
sudo -u www-data vi ../config/config.inc.php
Fügen Sie ‚twofactor_gauthenticator‚ in das Plugins-Array hinzu:
$config['plugins'] = array('enigma', 'twofactor_gauthenticator', 'markasjunk', 'newmail_notifier', 'zipdownload');
Melden Sie sich in Roundcube an und aktivieren den zweiten Faktor:
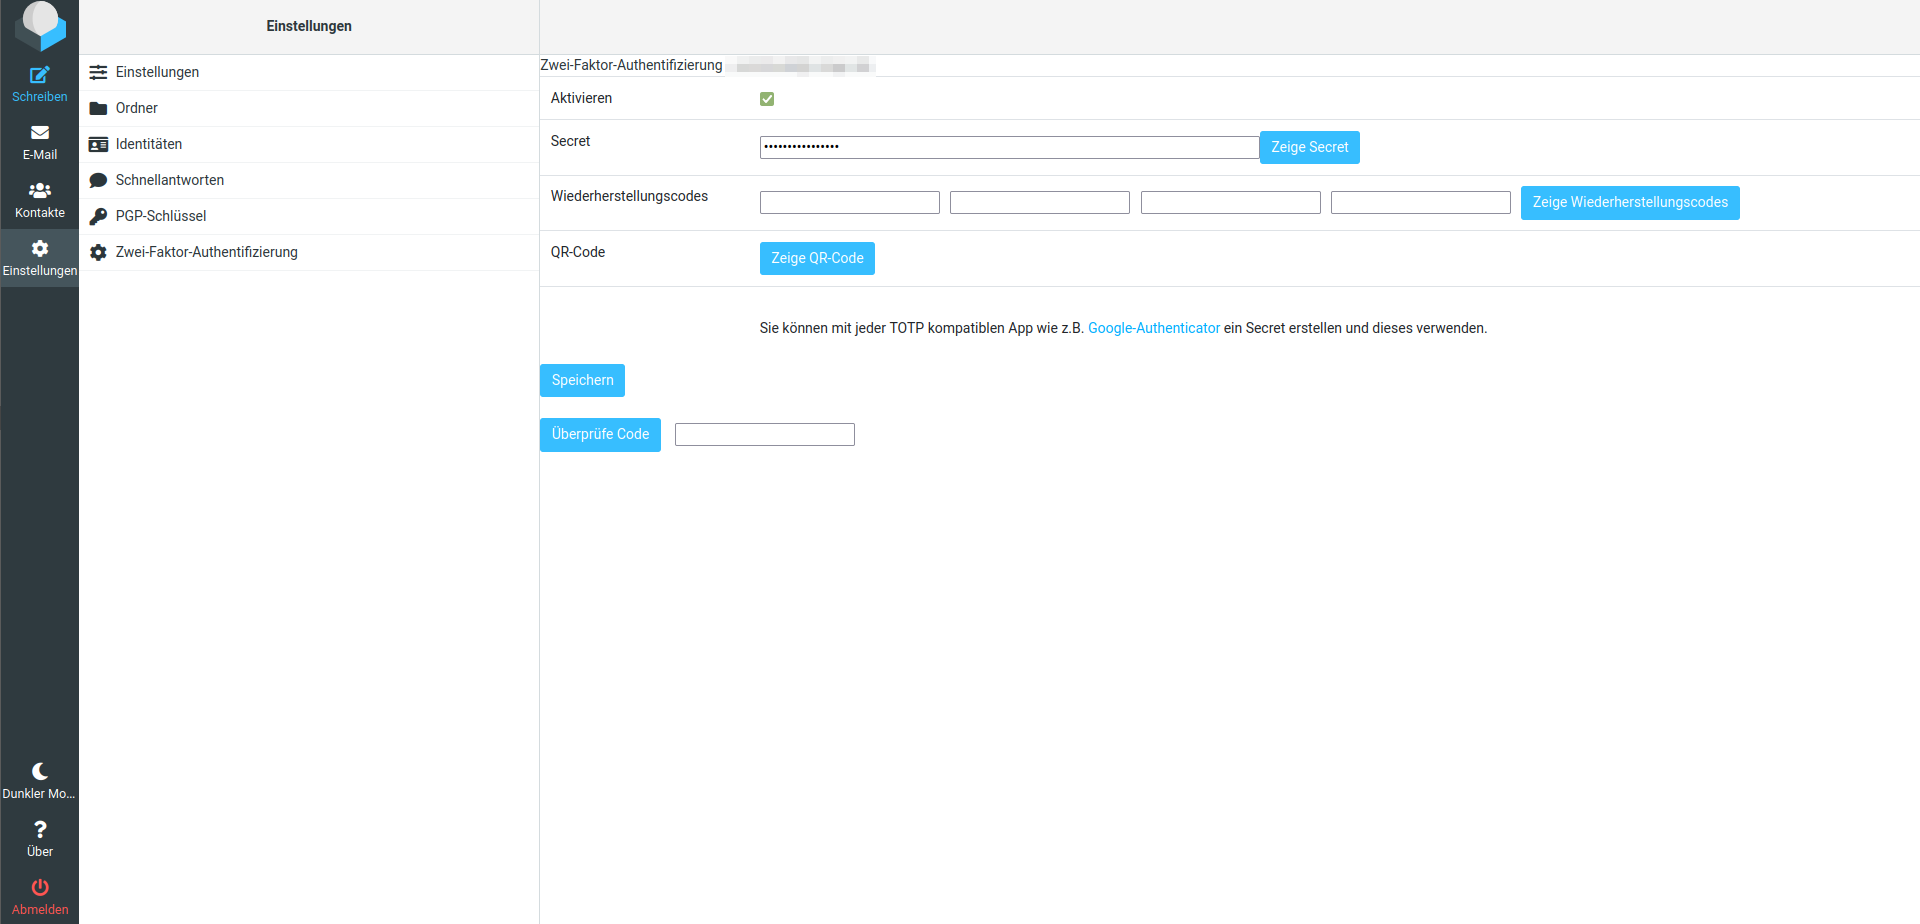
Sie können ein neues Secret generieren oder aber auch das bestehende Secret Ihrer Nextcloud verwenden. Nach der Validierung des Codes können Sie sich nun mit Ihren Benutzerdaten und dem zweiten Faktor anmelden.
Fail2ban
Um nachfolgend Fail2Ban einzurichten melden Sie sich erneut von Roundcube ab und wechseln in das Plugins Verzeichnis:
cd /var/www/emails/plugins
Laden Sie das fail2ban-plugin herunter und entpacken es dann:
wget https://github.com/mattrude/rc-plugin-fail2ban/archive/1.3.zip
unzip 1.3 && rm 1.3.zip
Benennen Sie das Plugin um und setzen die korrekten Berechtigungen:
mv rc-plugin-fail2ban-1.3 fail2ban && chown -R www-data:www-data /var/www/emails
Erstellen Sie nun die fail2ban-Konfigurationen für Roundcube:
nano /etc/fail2ban/jail.d/roundcube.local
Kopieren Sie alle Zeilen in diese Datei:
[roundcube]
backend = auto
enabled = true
port = 80,443
protocol = tcp
filter = roundcube
maxretry = 5
bantime = 1800
findtime = 36000
logpath = /var/www/emails/logs/errors.log
Erstellen Sie nun die Filterdatei:
nano /etc/fail2ban/filter.d/roundcube.conf
Kopieren Sie alle Zeilen hinein:
[Definition]
failregex = IMAP Error: Login failed for .* from <HOST>
ignoreregex =
Melden Sie sich von Roundcube ab und aktivieren fail2ban in der Konfigurationsdatei:
sudo -u www-data nano ../config/config.inc.php
Fügen Sie ‚fail2ban‚ in das plugins-Array hinzu:
$config['plugins'] = array('enigma', 'fail2ban', 'twofactor_gauthenticator', 'markasjunk', 'newmail_notifier', 'zipdownload');
Erstellen Sie die Logdatei und starten dann fail2ban neu:
sudo -u www-data touch /var/www/emails/logs/errors.log && service fail2ban restart
Überprüfen Sie nun die erweiterte fail2ban-Überwachung:
fail2ban-client status nextcloud && fail2ban-client status roundcube
Melden Sie sich bewußt falsch an und überprüfen dann die fail2ban-Statistik erneut:
fail2ban-client status nextcloud && fail2ban-client status roundcube
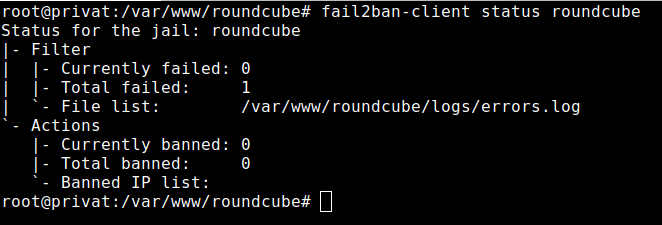
Wenn Sie den fehlerhaften Anmeldeversuch protokolliert finden, dann funktioniert fail2ban wie erwünscht.
Carddav
Nun aktivieren wir noch die Nextcloud-Kontakte in Roundcube mittels des carddav-Plugins. Melden Sie sich von Roundcube ab und wechseln wieder in die Linux-Shell:
cd /var/www/emails
curl -s https://getcomposer.org/installer | php
chown -R www-data:www-data /var/www/
exit
sudo -u www-data php composer.phar require roundcube/carddav
sudo -s
chown -R www-data:www-data /var/www/
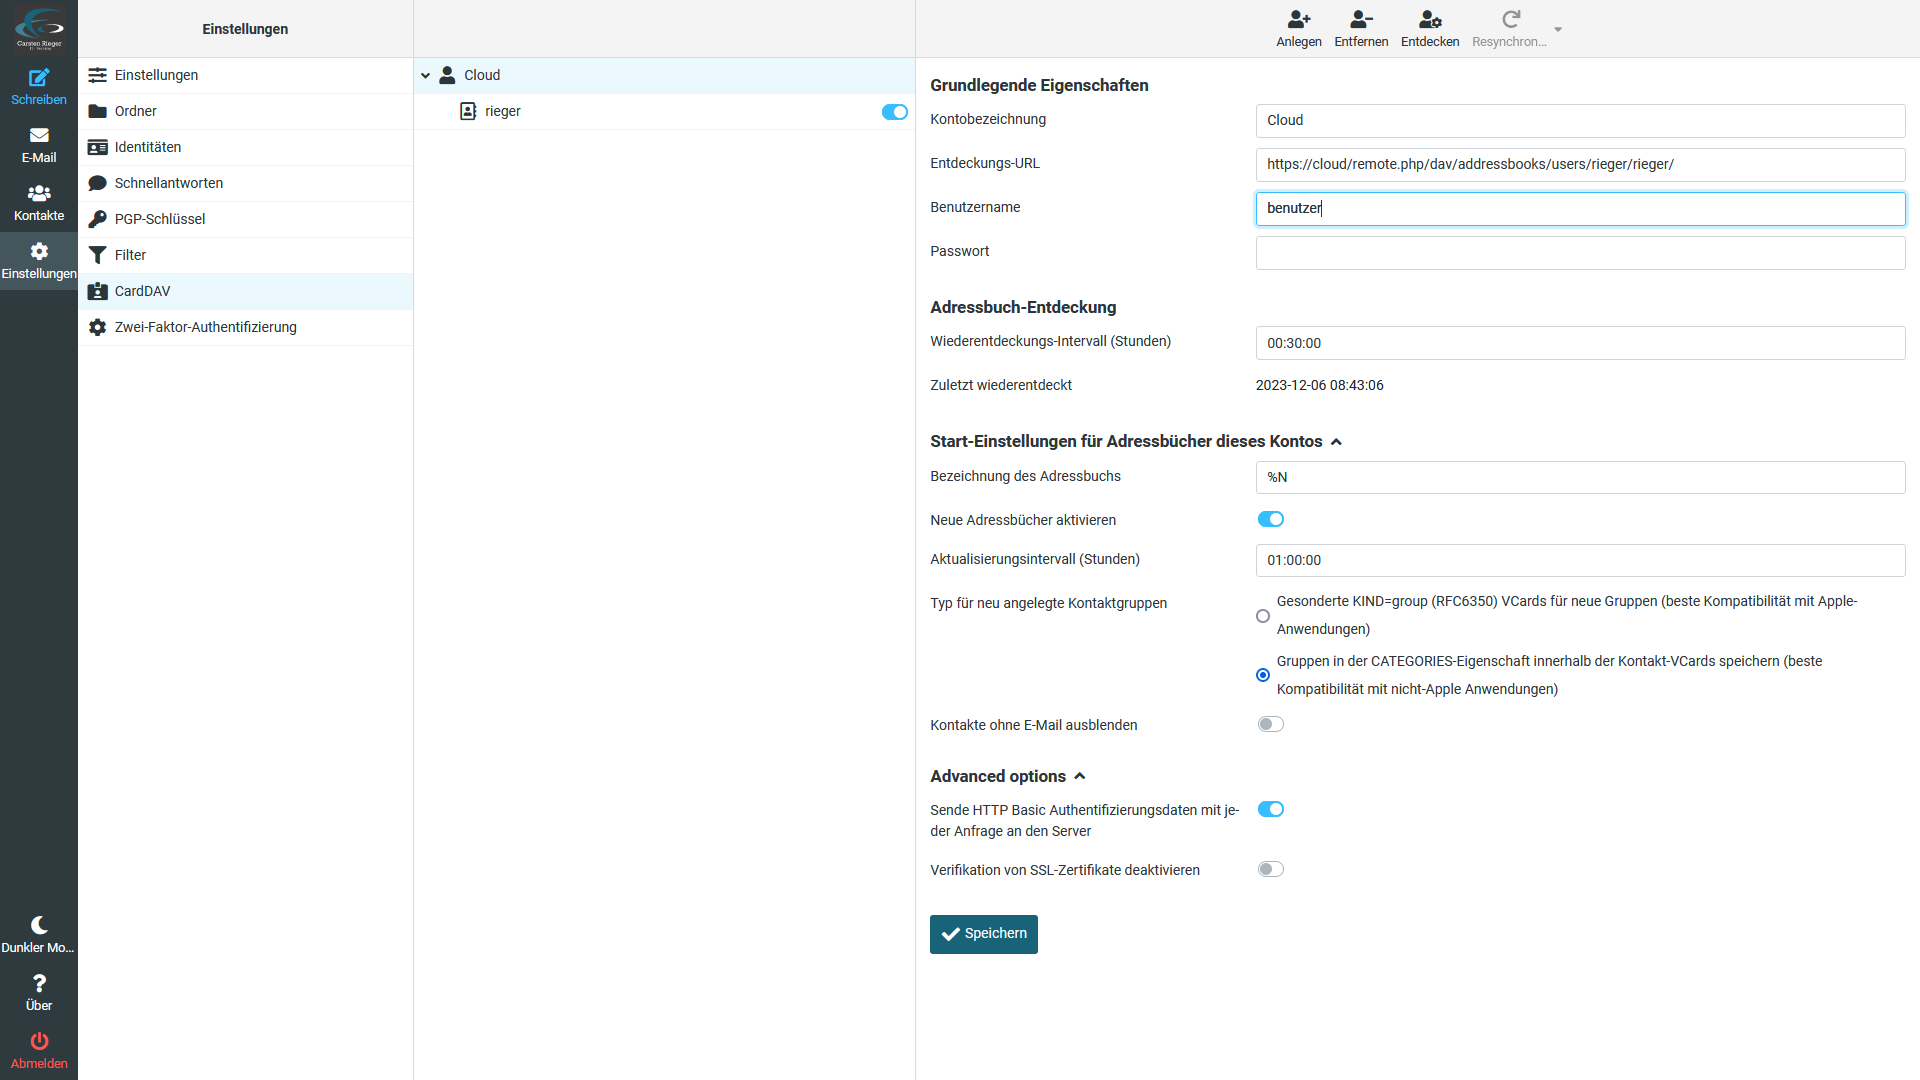
Melden Sie sich erneut bei Roundcube an. Konfigurieren Sie das Plugin gemäß ihrer Nextcloud – die carddav-URL sieht bspw. wie folgt aus:
https://ihreclouddomain.de/remote.php/dav/addressbooks/users/benutzer/contacts/
Möchten Sie Roundcube separat betreiben, also nicht in einem Subfolder der Cloud, dann verwenden Sie bitte diese vHost-Datei:
nano roundcube.conf
Fügen Sie alle Zeilen hinzu und passen nur die rot markierten Werte an:
server {
listen 443 ssl http2;
listen [::]:443 ssl http2;
server_name mail.ihredomain.de;
ssl_certificate /etc/letsencrypt/rsa-certs/fullchain.pem;
ssl_certificate_key /etc/letsencrypt/rsa-certs/privkey.pem;
ssl_certificate /etc/letsencrypt/ecc-certs/fullchain.pem;
ssl_certificate_key /etc/letsencrypt/ecc-certs/privkey.pem;
ssl_trusted_certificate /etc/letsencrypt/ecc-certs/chain.pem;
ssl_dhparam /etc/ssl/certs/dhparam.pem;
ssl_session_timeout 1d;
ssl_session_cache shared:SSL:50m;
ssl_session_tickets off;
ssl_protocols TLSv1.3 TLSv1.2;
ssl_ciphers 'TLS-CHACHA20-POLY1305-SHA256:TLS-AES-256-GCM-SHA384:ECDHE-RSA-AES256-GCM-SHA512:DHE-RSA-AES256-GCM-SHA512:ECDHE-RSA-AES256-GCM-SHA384:DHE-RSA-AES256-GCM-SHA384';
ssl_ecdh_curve X448:secp521r1:secp384r1;
ssl_prefer_server_ciphers on;
ssl_stapling on;
ssl_stapling_verify on;
client_max_body_size 10G;
fastcgi_buffers 64 4K;
gzip on;
gzip_vary on;
gzip_comp_level 4;
gzip_min_length 256;
gzip_proxied expired no-cache no-store private no_last_modified no_etag auth;
gzip_types application/atom+xml application/javascript application/json application/ld+json application/manifest+json application/rss+xml application/vnd.geo+json application/vnd.ms-fontobject application/x-font-ttf application/x-web-app-manifest+json application/xhtml+xml application/xml font/opentype image/bmp image/svg+xml image/x-icon text/cache-manifest text/css text/plain text/vcard text/vnd.rim.location.xloc text/vtt text/x-component text/x-cross-domain-policy;
add_header Permissions-Policy "interest-cohort=()";
add_header Referrer-Policy "no-referrer" always;
add_header X-Content-Type-Options "nosniff" always;
add_header X-Download-Options "noopen" always;
add_header X-Frame-Options "SAMEORIGIN" always;
add_header X-Permitted-Cross-Domain-Policies "none" always;
add_header X-Robots-Tag "none" always;
add_header X-XSS-Protection "1; mode=block" always;
fastcgi_hide_header X-Powered-By;
root /var/www/emails;
index index.php index.html /index.php$request_uri;
expires 1m;
location = /robots.txt {
allow all;
log_not_found off;
access_log off;
}
location ~ ^/(bin|SQL|config|temp|logs|pgp|installer|README|INSTALL|LICENSE|CHANGELOG|UPGRADING)/ {
deny all;
}
location ~ ^/(?:build|tests|config|lib|3rdparty|templates|data)(?:$|/)  { return 404; }
location ~ ^/(?:\.|autotest|issue|indie|db_|console)  { return 404; }
location ~ \.php(?:$|/) {
fastcgi_split_path_info ^(.+?\.php)(/.*)$;
set $path_info $fastcgi_path_info;
try_files $fastcgi_script_name =404;
include fastcgi_params;
fastcgi_param SCRIPT_FILENAME $document_root$fastcgi_script_name;
fastcgi_param PATH_INFO $path_info;
fastcgi_param HTTPS on;
fastcgi_param modHeadersAvailable true;
fastcgi_param front_controller_active true;
fastcgi_pass php-handler;
fastcgi_intercept_errors on;
fastcgi_request_buffering off;
fastcgi_read_timeout 3600;
fastcgi_send_timeout 3600;
fastcgi_connect_timeout 3600;
}
location ~ \.(?:css|js|svg|gif|png|jpg|ico)$ {
try_files $uri /index.php$request_uri;
expires 6M;
access_log off;
}
location ~ \.woff2?$ {
try_files $uri /index.php$request_uri;
expires 7d;
access_log off;
}
location / {
try_files $uri $uri/ /index.php$request_uri;
}
}
Die zuvor erstellte Dateie „/etc/nginx/proxy.conf„sowie die Erweiterung in ihrer Datei „/etc/nginx/conf.d/<next/own>cloud.conf“ werden in diesem Fall nicht benötigt!
Eine Übersicht über alle Parameter finden Sie hier.


Die Installation der Roundcube-Anwendung wurde erfolgreich abgeschlossen und so wünsche ich Ihnen viel Spaß mit Ihren Emails und Daten in Ihrer privaten, sicheren Cloud, erweitert um Ihre „Roundcube Mail“. Über einen Kaffee würden sich meine Frau, meine Zwillinge und ich sehr freuen!